
Tutorials
Short, step-by-step tutorials taken from bitGen Studio itself - a picture for every step and a film of the whole thing.
Add a new model
A model you downloaded - from Civitai, Hugging Face or anywhere else - becomes a card in bitGen Studio and then a style you can pick and render with. About two minutes.
- Open 🧩 ModelsClick 🧩 Models in the status bar at the bottom. Every model ComfyUI has is a card, with its type read from the file itself.
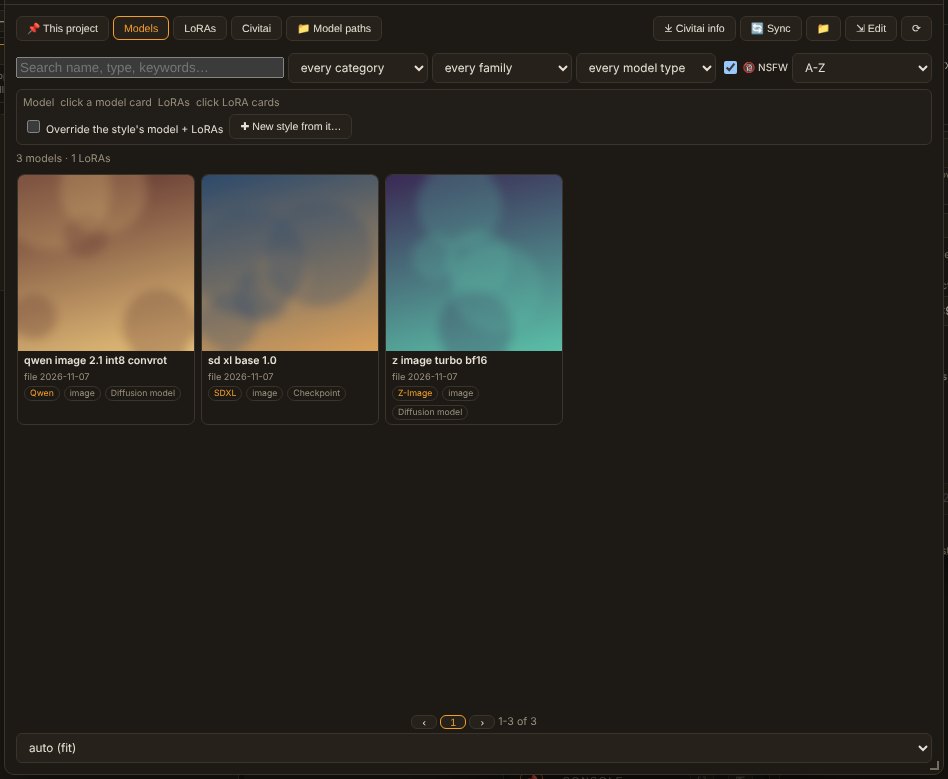
- Copy the file into ComfyUI's models folderWhich folder depends on the model:
models/checkpoints/all-in-one models: SDXL, SD 1.5, Pony, Illustrious models/diffusion_models/FLUX, Qwen Image, Z-Image, Wan, MiniMax H3 and other newer models (their text encoder and VAE are separate files) models/loras/LoRAs models/vae/,models/text_encoders/the VAE and text encoder a diffusion model needs Or download it inside bitGen Studio: the Model manager's Civitai tab saves a model straight into the right folder (it needs your Civitai API key - Settings ▸ General ▸ Civitai).
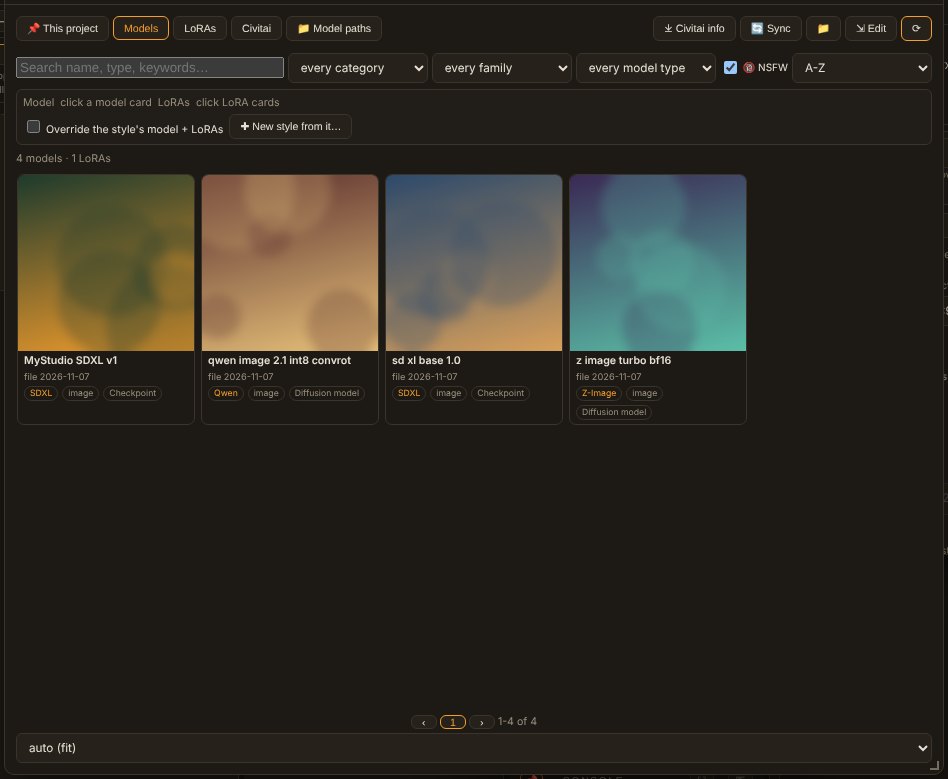
- Press ⟳The Model manager reads the folders again and the new card appears.
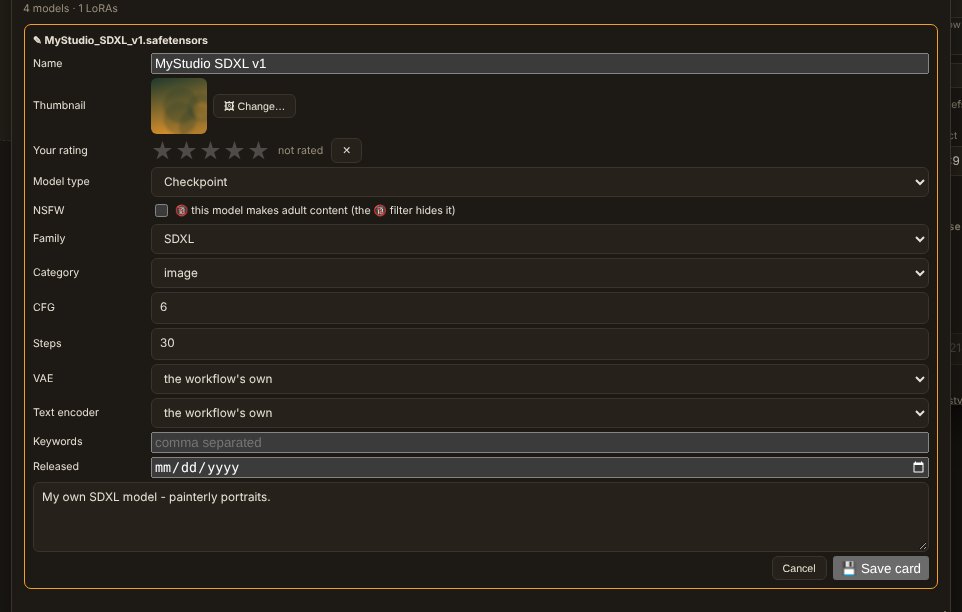
- ✎ Edit the cardGive it a name, the steps and cfg its maker recommends, a description. This is saved beside the model, and bitGen uses the steps and cfg when it renders with it.
- ✚ New style from itClick the card to select it, then ✚ New style from it… The style for its type is copied (its workflow, VAE and sampler) with your model, steps and cfg. Just trying it once? Tick Override the style's model + LoRAs instead.

- Render with itThe style is in Settings ▸ Image and in every style list. Pick it in Basic Settings or on a style card and press Generate.
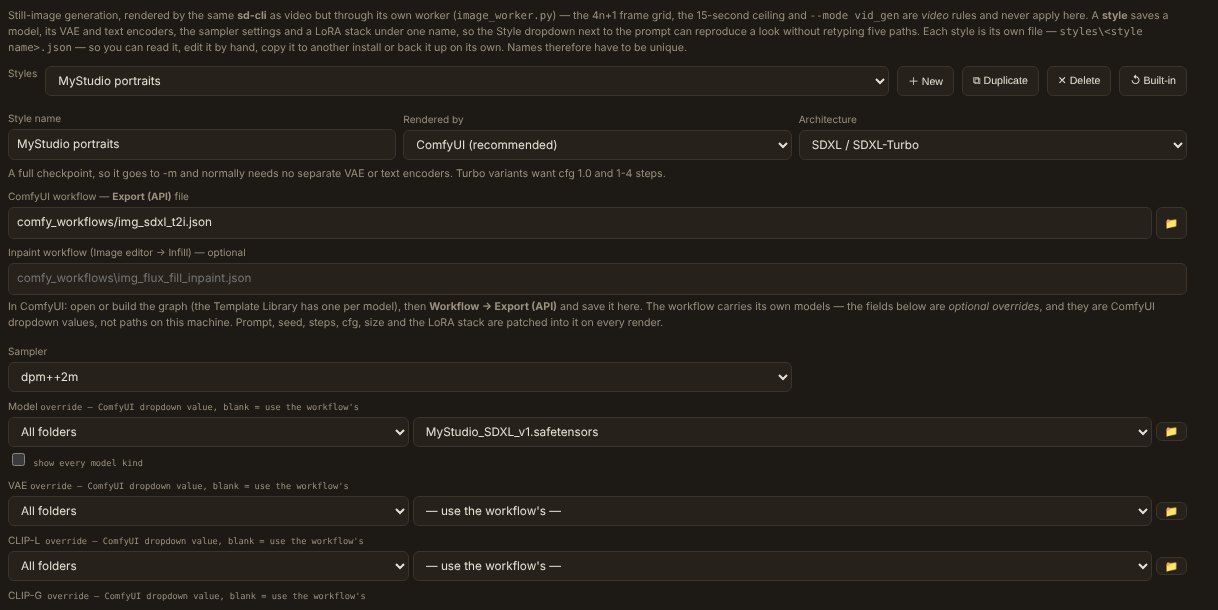
A model that needs other files (a text encoder, a VAE) says which ones are missing when you render, with where to get them. The guide has more on the Model manager.
Add your own ComfyUI workflow
Any workflow you built in ComfyUI can run from bitGen Studio's Generate button. bitGen checks it, test-runs it and keeps it when it works. About three minutes.
- Save the workflow in ComfyUIWorkflow ▸ Save, or Workflow ▸ Export (API). Either .json works - a saved one needs ComfyUI running when you import it.
- Settings ▸ ComfyUI ▸ Graphs ▸ ⤒ Import & check…Pick the .json. bitGen reads it: the pictures, videos and sounds it takes, its output, any node or model file ComfyUI does not have, and the controls it gets - prompt, negative, seed, steps, cfg, size.
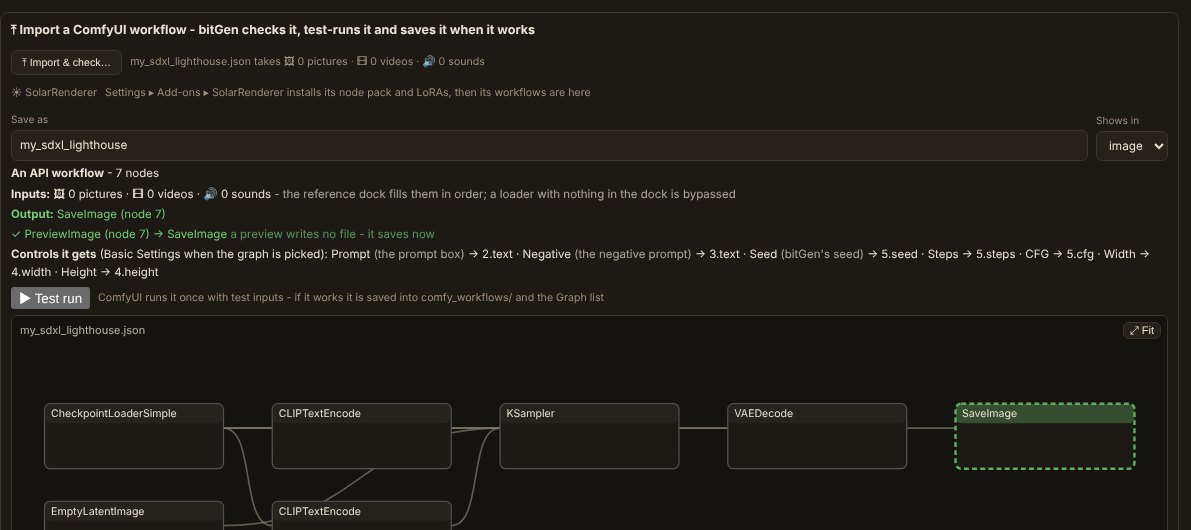
- Look at the graphEvery node and link is drawn. A missing node or model file is coloured - install the node pack (ComfyUI-Manager ▸ Install Missing Custom Nodes) or the model, then import again.
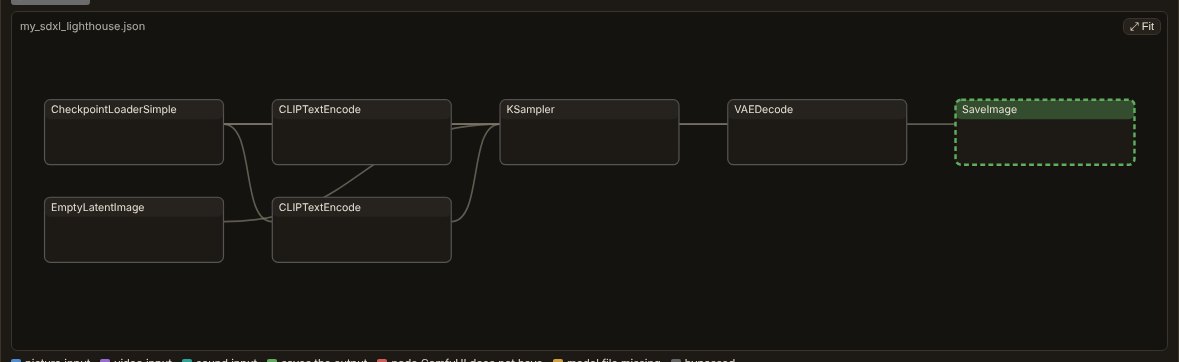
- ▶ Test runbitGen runs it once through ComfyUI with test inputs. When it works, it is saved into comfy_workflows/ and added to the Graph list; when it does not, ComfyUI's own error is shown and nothing is saved.

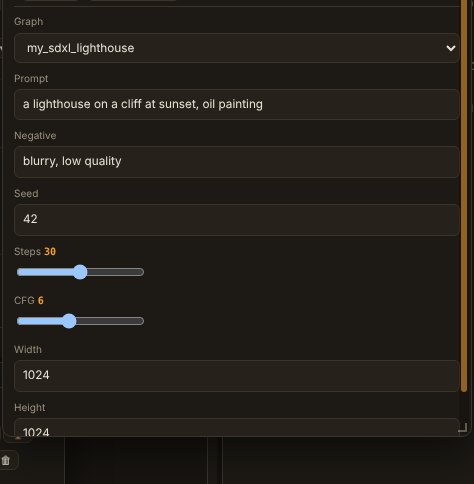
- Use it from GenerateSet the list beside Generate to Graph and pick your workflow. Basic Settings shows its controls; type the prompt as usual and press Generate.
Workflows with Load Image, Load Video or Load Audio nodes take their pictures from the References docker, in order. Stuck? Ask in the Discussions.